An IDE (Integrated Development Environment) gathers into a single piece of software everything needed to program a microcontroller: a code editor, a compiler (or a build chain), uploading to the board, and often a serial monitor to watch the program run.
What the IDE takes care of
Without an IDE, programming an embedded target would mean chaining compilation, linking, conversion and flashing by hand. The IDE hides that chain behind two buttons (“Verify” / “Upload”) and handles the choice of board, port and libraries. It usually includes a library manager and a board manager that installs support for a new microcontroller family.
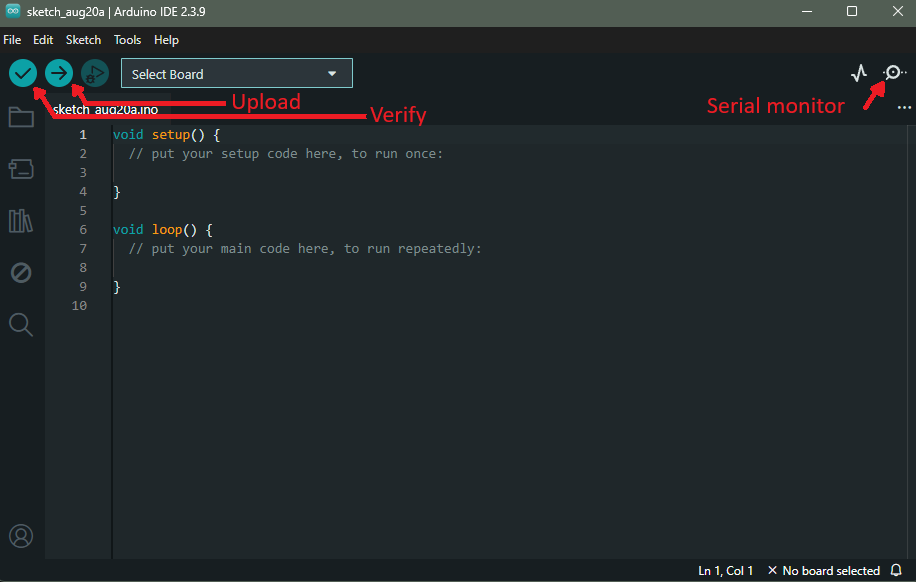
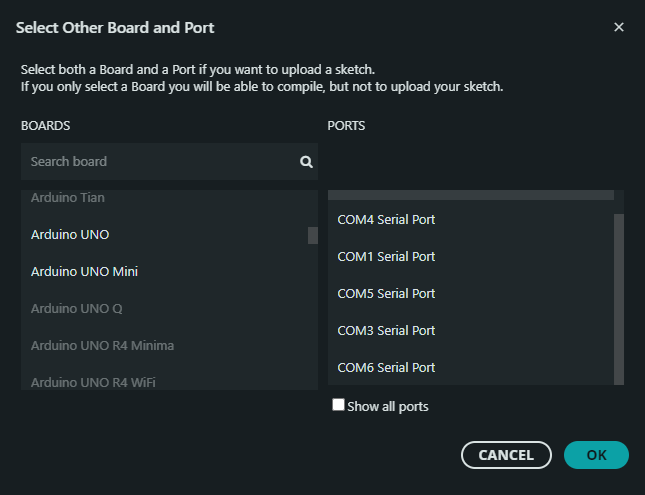
Compiling and uploading do not ask for the same thing. Choosing a board is enough to compile. You also need a port to send the program into it (see how a program runs). The IDE says so itself in its selection box, which lists the installed boards on one side and the detected ports on the other.
Which one for which target
Every family has its reference environment: the Arduino IDE and PlatformIO for the Arduino ecosystem and the ESP32, STM32CubeIDE for STM32, Thonny for MicroPython. The choice of IDE is not neutral: it drives how easily a project starts, how rich the debugging is, and how portable the project is from one machine to another. Installing and using one step by step belongs to each family tutorial: Getting started with Arduino, Getting started with MicroPython…
See also
- Microcontroller — the target the IDE programs
- Library — managed from the IDE
- Firmware — the binary the IDE produces and uploads
- Getting started with Arduino — installing and using the IDE step by step (screenshots)